Welcome to The #Content Report, a newsletter by Vince Mancini. I’ve been writing about movies, culture, and food since the aughts. Now I’m delivering it straight to you, with none of the autoplay videos, takeover ads, or chumboxes of the ad-ruined internet. Support my work and help me bring back the cool internet by subscribing, sharing, commenting, and keeping it real.
Good morning, #Content lovers. I’m working to get back to regular programming schedule very soon, but right now I’m doing my best to shake off the weekend and a mild cold. In the meantime, I hope you enjoy recipe content. I don’t know how to add in one of those fancy “jump to the recipe” links like they have on most dedicated recipe sites, so you can either exercise that scrolling finger or just resign yourself to my reveries. Enjoy.

—
I tend not to share a recipe unless I’ve made it lots of times. Aside from chile verde, raviolis are probably the thing I’ve cooked the most (I’ll be using “raviolis” here even though I understand that “ravioli” is already technically plural — it still feels too weird to use it that way in English writing).
Raviolis were kind of my gateway to cooking. I started trying to perfect these ever since my first Thanksgiving away from home. It didn’t feel like Thanksgiving without raviolis to me, so making them myself grew out of necessity. (I was a similar deal with chile verde: I couldn’t find it outside of the Central Valley, so I started trying to recreate it from memory. At least with raviolis I’d seen people in my family make them so I wasn’t flying completely blind).
Ravioli Revelation #1: You Don’t Have To Pre-Cook the Filling
At first I was just trying to recreate the raviolis my grandmother and great aunt would serve — ground beef-based filling in a meaty red sauce. And I started humbly. We’re talking wonton skins from the Asian market in some of my first attempts (I wouldn’t recommend it; they’re too thin and don’t even save that much time). I’ve gotten more sophisticated and the recipe has evolved since then. In fact it’s been less than a year since I discovered that I didn’t need to pre-cook the meat filling for these, which was a truly mind-blowing realization to have after 20 years of ravioli making. This recipe reflects that discovery.
Ravioli Revelation #2: They Don’t Need A Heavy Sauce
The next thing I discovered was that they didn’t really need a heavy tomato sauce anymore. I mean I loved my grandmother and my great aunt’s red gravy (made with canned tomatoes, country style pork ribs, and lots of onions), but it seemed mostly to distract from a nice, non-precooked meat feeling. Sacrilege? Was I just ready for something different? Maybe, but as of today I honestly think these are way better.
So I figured I’d share. My grandmother usually used swiss chard in these, which is great, but when I left it out I didn’t really miss it (I do like a lot of parsley). My basic philosophy here is to make meatballs inside some pasta dough. For a “sauce” I just do a very easy mix of butter and pasta water with some cheese. (It’s kind of like a simplified version of Zach’s purist Alfredo sauce, though not as cheese-forward).
This recipe fed 12 people as a Thanksgiving side, as a main I’d say it’d feed four?
Equipment
Food processor
Pasta Machine or pasta attachment on a stand mixer.
Ravioli press (I have one like this)
Pastry cutter
Sheet pan, preferably with a cover
Pot
Sauce pan
You don’t strictly need any of these, you could do it with just a table, a rolling pin, and a knife, but these are what I use.
For the filling
(you should hopefully end up with about the right amount of filling for the amount of dough in this recipe with none leftover, or at least I did).
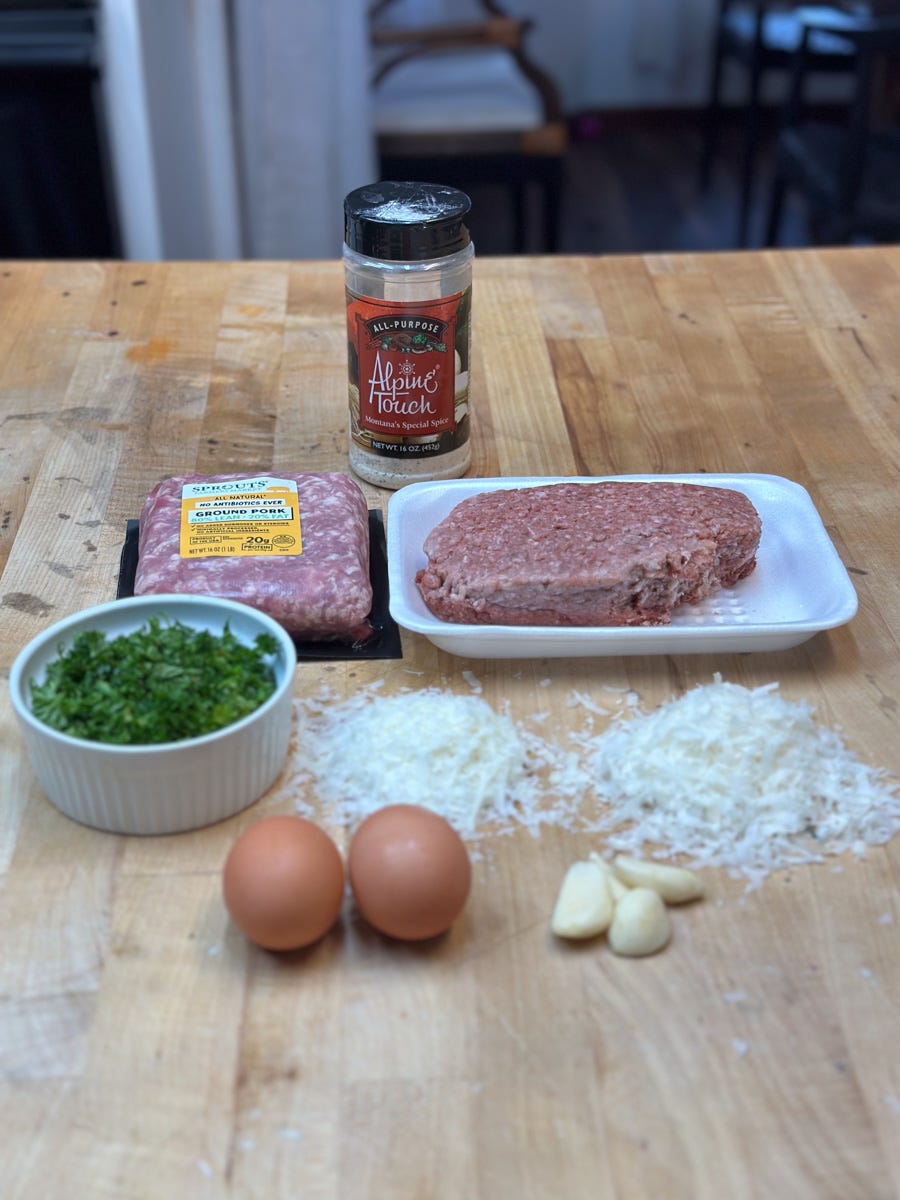
1 pound 80-20 ground pork (you can use veal like my grandma often did or lamb too)
1 pound 80-20 ground beef
1 cup chopped parsley (I use the curly kind because I think it tastes better but it probably doesn’t matter)
1/2 cup parmigiano reggiano (you can use a cheaper, younger parmesan here if you want, I’m sure it would be fine)
1/2 cup pecorino romano
3/4 garlic cloves, grated or smashed and chopped fine
About 1.5 teaspoons seasoned salt (I don’t actually measure this) (I use Alpine Touch, which is a super simple seasoned salt that has salt, pepper, MSG, garlic powder, and onion powder)
Zest of one lemon
Pinch of nutmeg
Pinch of ground sage (these last few aren’t strictly necessary but I think they give a nice hint of fall)
3-4 eggs
1/4 cup-ish bread crumbs
Directions
Put everything in a big mixing bowl or a food processor and mix it all up. I use just enough bread crumbs that it’s not too watery — it should be mostly dry and a little sticky, easy to form into little balls.
Now make a tester. Make a little meat ball out of the filling and cook it in a pan. Once it’s done cooking, give it a taste to check your seasoning. If it’s bland, add a little more salt! Use your brain! Hopefully it’s not too salty, but if it is, you can add some more egg and breadcrumbs.
Once it’s right, cover your bowl and stick it back in the fridge.
For the Dough
2 cups flour (I use 00 flour, but AP flour works fine too)
4 eggs (for an extra rich dough, you can go 3 whole eggs + egg yolks)
Glug of extra virgin olive oil
A few drops of lemon juice (fresh pasta will turn green if you leave these in the fridge more than 24-48 hours, the lemon juice hinders that a little bit)
Pinch of salt (Samin Nosrat claims salting the dough makes it stiffer but I’ve never noticed a difference)
Directions
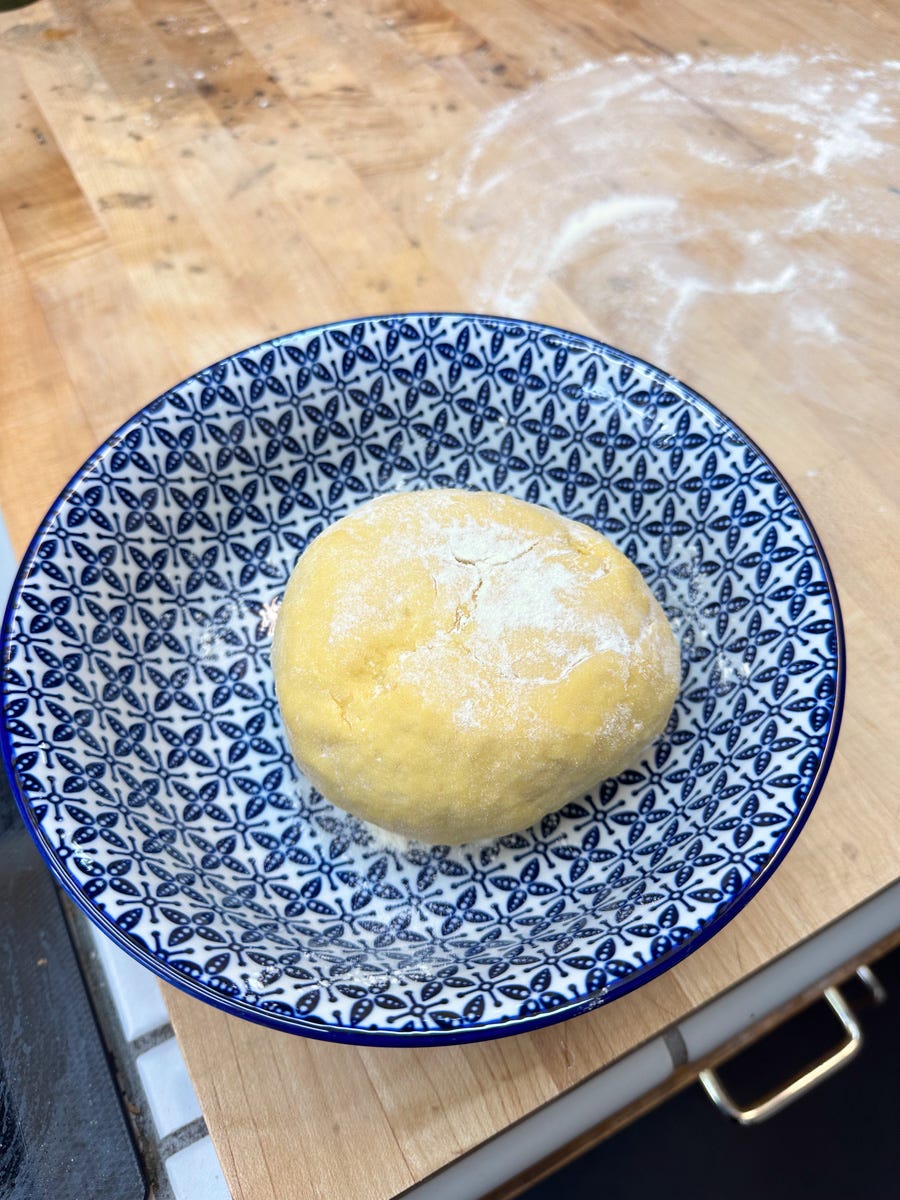
Add your dry ingredients to the food processor and pulse a few times to combine. (I like to add a pinch of turmeric for a nice yellow color). Add your wet ingredients to a bowl, and start to pour them in slowly while you pulse the food processor. Ideally it will form into a rough ball after a minute or two. If it’s too wet and sticky, add more flour. If it’s not coming together at all and looks like sand or little pebbles, add some more water and keep pulsing.
Once it’s a rough ball, take it out and knead the dough on a floured surface until it’s uniform. It shouldn’t stick to your hands; if it is, add more flour and keep kneading. It’s going to get stiff and overworked and should be on the dry side at this stage.
Once it’s uniform, put the dough ball in a floured bowl. Cover it and let it rest for 20-30 minutes.
Note: If you don’t have a food processor, you can always use the well method. I tend to prefer the food processor because it’s cleaner and faster than the well method and faster than a stand mixer.
Assembly
From here, I take that dough ball and cut it into even quarters. Then cut those quarters in half to make eight dough pieces. Keep those covered while you work with one ball at a time.
Take one of your eighths, smush it roughly flat with your hands, and sprinkle it with flour. Again, it shouldn’t stick to your hands. Put it through the machine one or two width settings at a time, adding flour as you go so that it doesn’t stick to the machine, and trying to get a roughly rectangular sheet (or whatever shape your ravioli press is, if you’re using one). My pasta attachment goes to 8, and I take my dough sheets to a number 7.
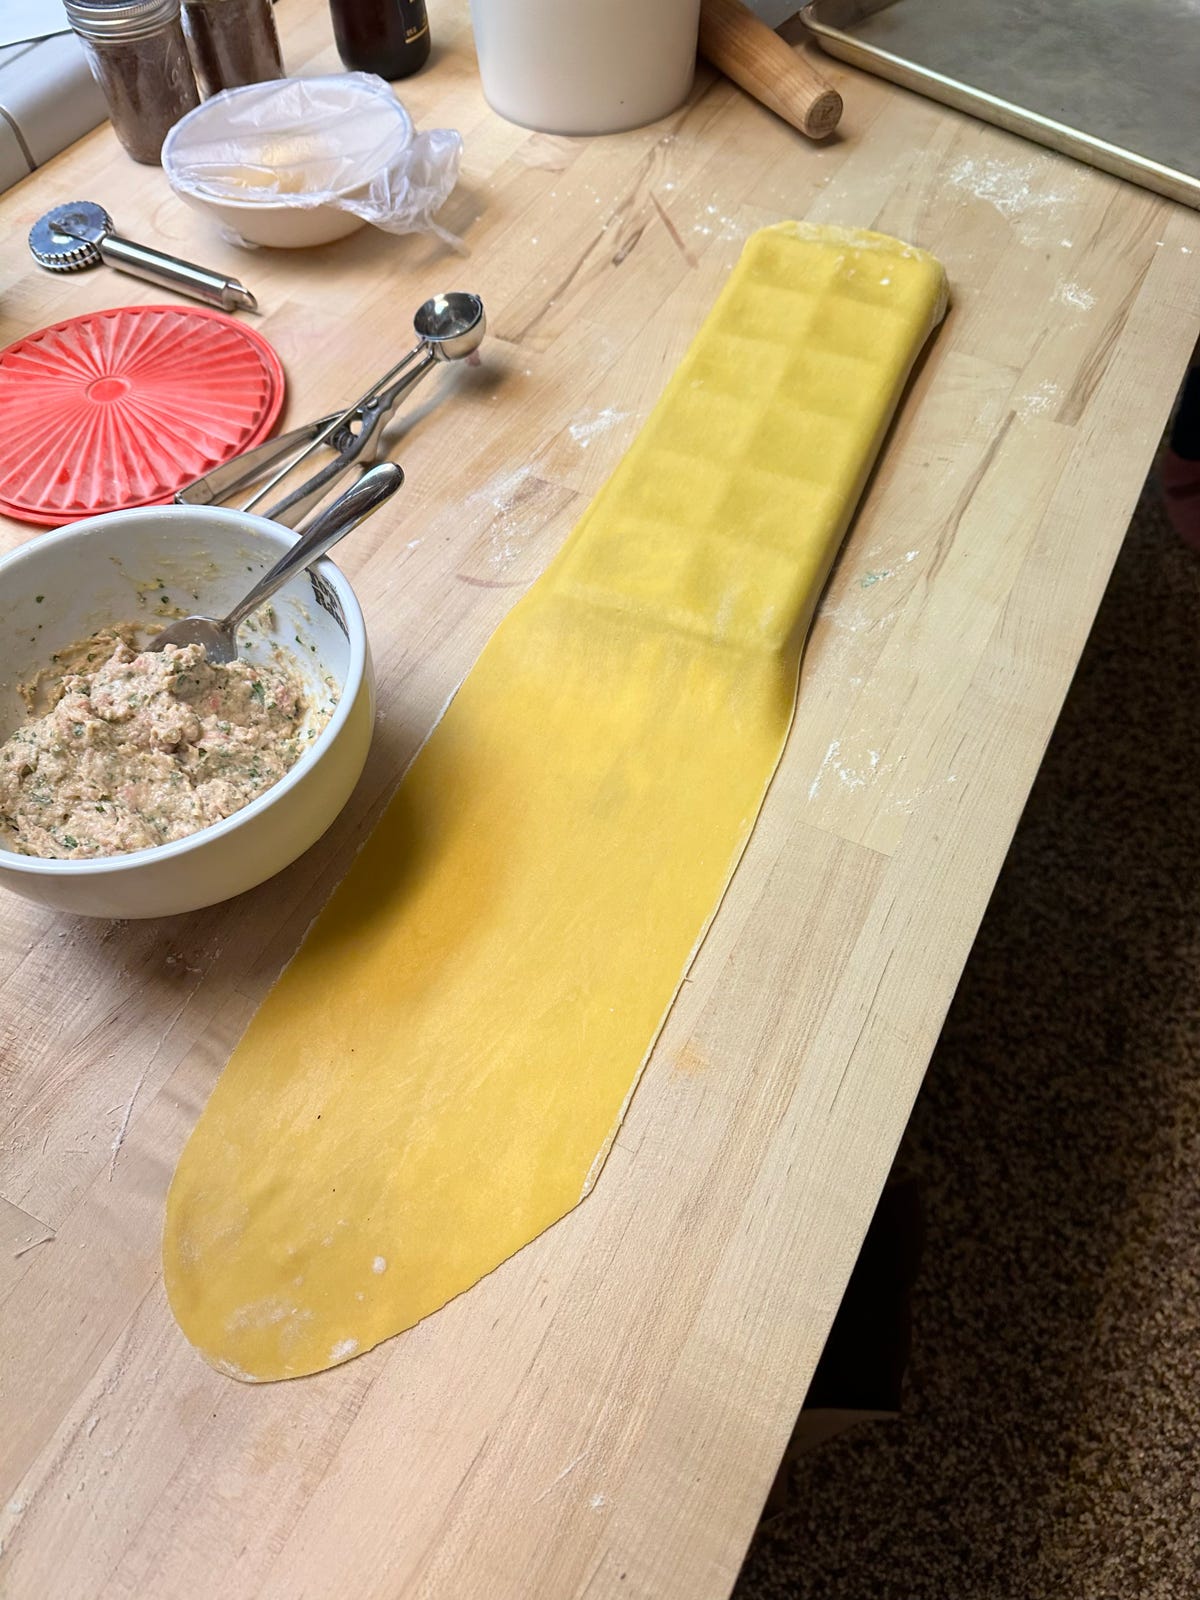
Once its done, flour the bottom side of the dough sheet (that is, the side that’s going against the ravioli press) Use LOTS OF FLOUR so that it doesn’t stick. Keep the up side as flour free as you can because you’ll need that side to stick to the next pasta sheet.
Using a little spoon (that little ice cream scooper thing I have doesn’t really work for me, but your mileage may vary) spoon a little of your filling in each square. The amount of filling I use is probably between a teaspoon and a tablespoon. Bigger than a marble but smaller than a jawbreaker.
Then repeat the process to make another dough sheet to go on top.
Use your fingers to smush the dough sheets together. This is the most meticulous part, take your time. Once everything seems sufficiently stuck together, flip your press over onto the table and remove it. Then cut along the lines with your pastry cutter, and transfer your finished raviolis to a sheet pan. I do NOT try to use a rolling pin to cut them along the edges of the press like they show in the product pictures, but maybe that method works for you. I just use the press marks as a guide (which is very helpful).
If you don’t have a press, you can also cut out little circles and press the ravs together with a fork. I’ve never done it this way but it seems to work fine (you might even have fewer pop open that way, but I feel like the square press wastes less dough).
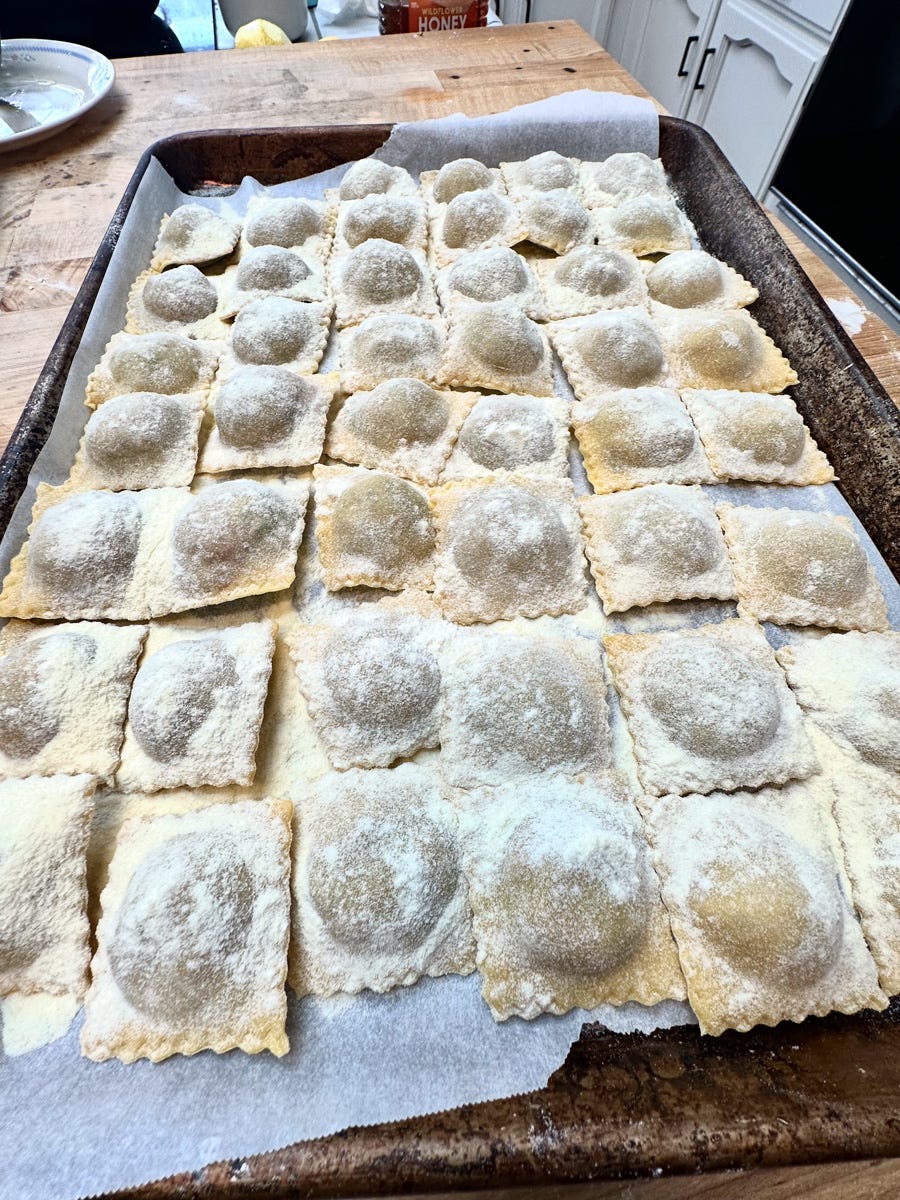
Now, this is important: flour the ever-loving shit out of your sheet pan before you put the raviolis on it. You don’t want those little fuckers sticking and wasting all this work you’re doing.
This is how mine looked after I’d used up all my dough and filling:
Notice how much flour is on there? More is better at this stage, in my opinion. I do not want those bastards sticking.
Now, from here, if you’re going to be eating them the same day, you can leave them out or stick them in the fridge (preferably uncovered, but you should be fine to cover if you need, as long as you sufficiently floured your sheet pan). If you’re not, stick them in the freezer. Once they’re frozen, you can transfer to a ziplock bag to save space, just make sure they’re nice and floury to keep from sticking.
Cooking
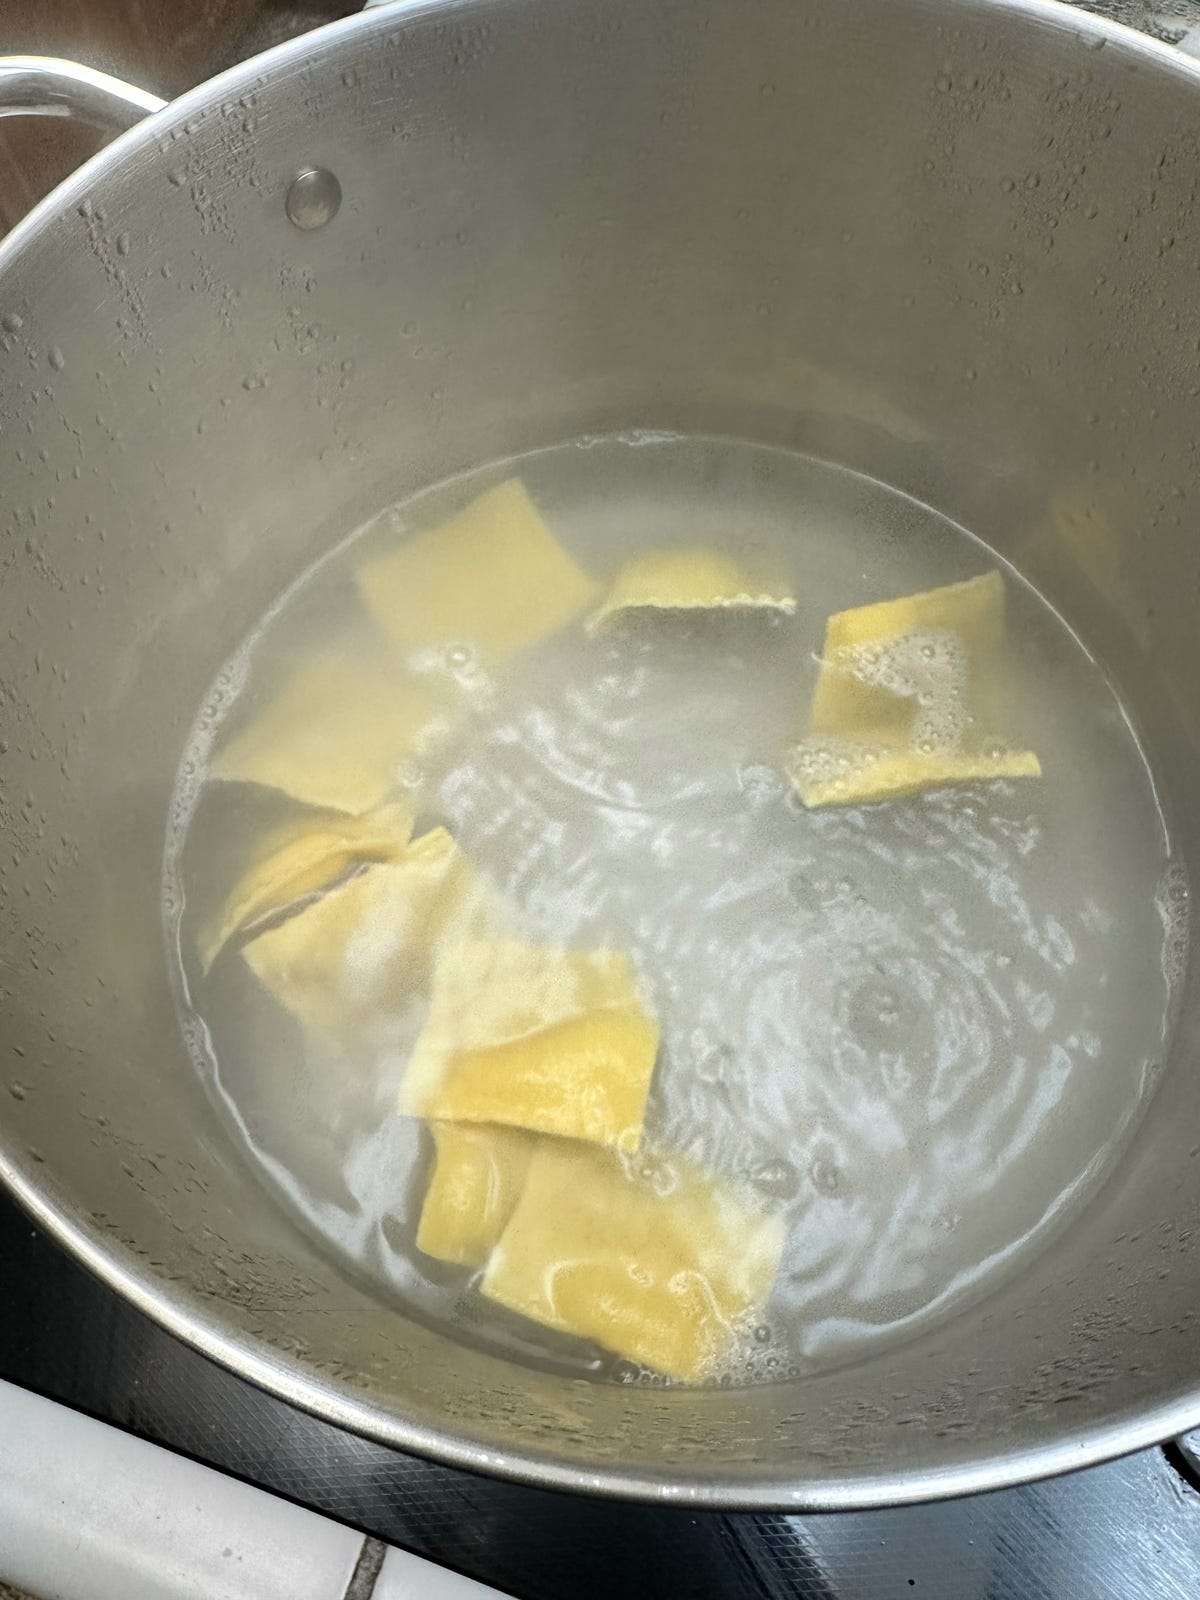
Get a pot on the stove and get your water nice and salty (“as salty as the sea,” as they say). Get a big sauce pan going next to it, and melt about a quarter stick of butter in it.
These ones took about four minutes to cook the amount of raw filling that I used, but you should definitely make a tester or two. Don’t serve your family raw meat, obviously. Frozen ones took a few minutes longer.
For the Sauce
Quarter stick of butter
1/2 cup grated cheese (I used the same cheeses I used in the filling, parmesan and pecorino)
2-3 ladles full of pasta water
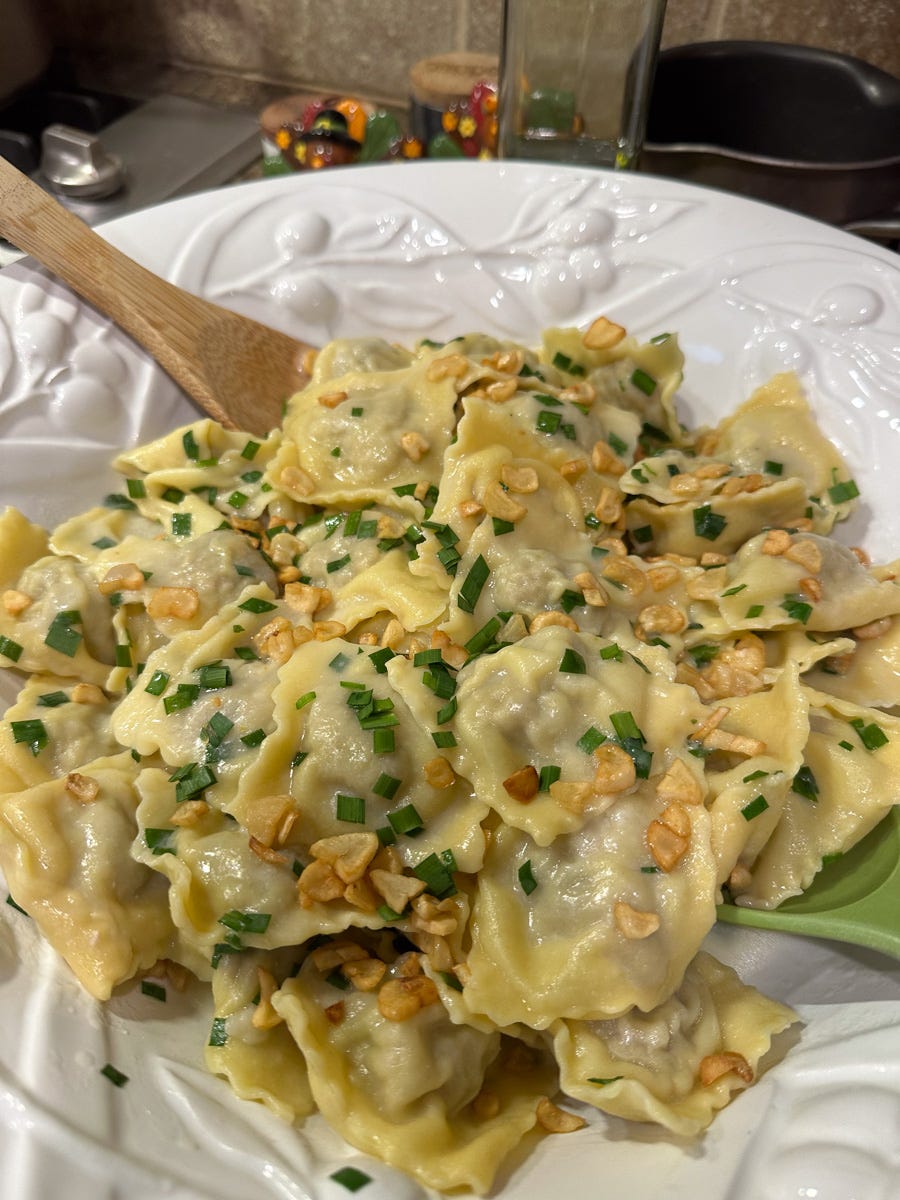
Optional toppings (I used crispy-fried garlic and chopped chives. Parsley would also be great)
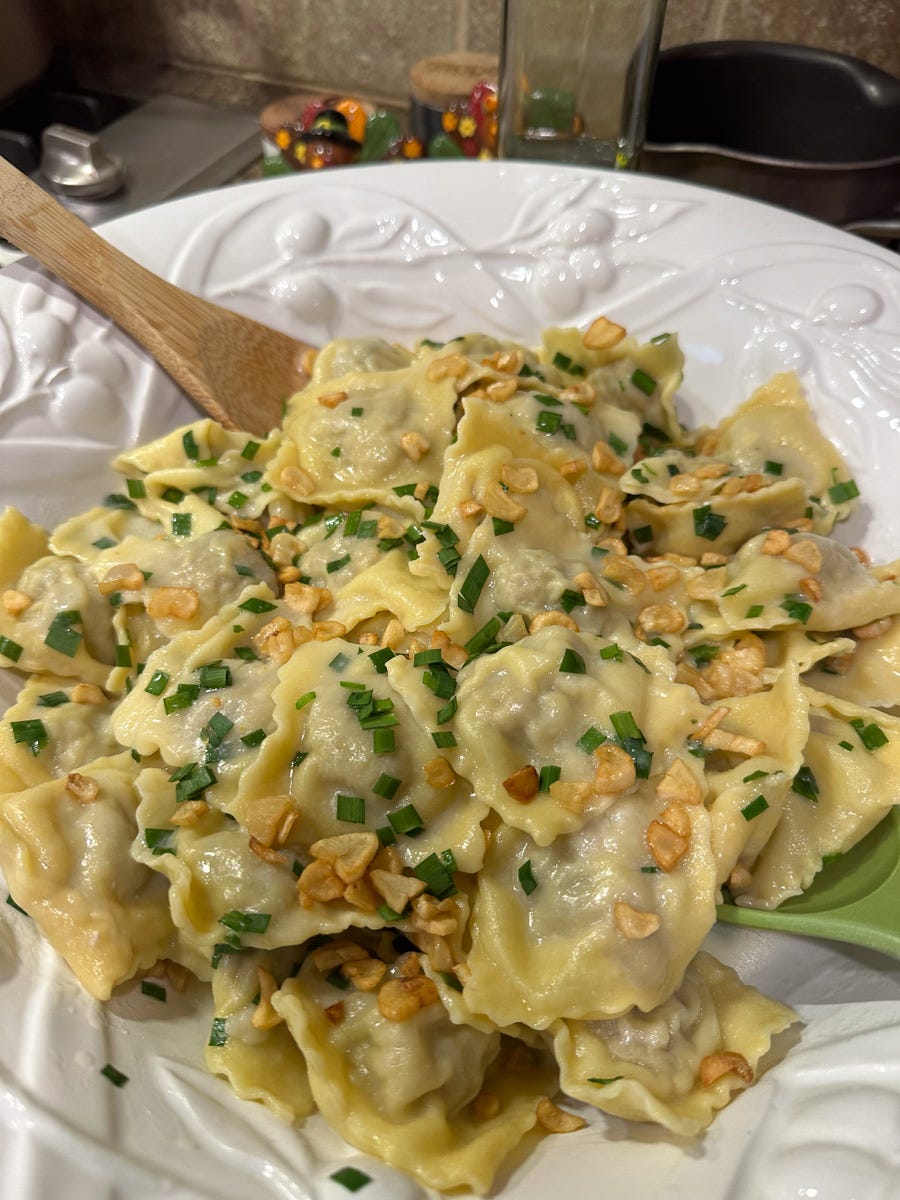
Once your ravioli are cooked through, using a colander or a slotted spoon (I use the latter) transfer from the pot to your sauce pan with the butter. Give them a toss, and then add two or three ladles full of your floury pasta water. Give it a another toss. You’re making a buttery pasta water reduction sauce, basically. It should look too watery before you add your cheese, and then it should become a nice gooey coating as the cheese and heat start to thicken it. Remove it from the heat and add your herbs/toppings and toss some more. Serve it up!
I was eating too fast to get a cross section this time, but here’s one from the last time I made them:
Not pre-cooking the filling keeps them nice and juicy on the inside, practically burstin’ with flavor. And they’re great for the holidays because you can get the kids involved in making them.




Well damn I had some yesterday!
I’m the dad and I couldn’t be prouder.
You can’t go wrong with the super detailed recipe instructions.
I have been making ravioli myself for at least 50 years, but I even saved a copy of this recipe for the hell of it
If you're ever looking for a way for your kids to help out with the cooking, they could be the ones to press the sides of the ravioli together with a fork. Speaking from experience as a child in an Italian family, it was a holiday tradition to make ravioli together. Mom would make the dough, dad would handle the filling, and my sister and I were on fork duty. We thought it was fun, until we were old enough to know better. Not sure if that would fly with a couple of rambunctious boys, but in our mostly female household it was a nice bonding experience.
Also, I laughed every time you wrote "raviolis." Do you eat spaghettis and meatballs too? Is this what happens when an Italian spends too much of his youth in California?